Showing posts with label special projects. Show all posts

Sunday, August 4, 2013

Special Person of The Week

I have made some updates to my Special Person book. 

I changed the font thank you to Jessica Stanford.
I added this cute frame from Loopty Loo Doodly.

I added some more questions/pages. 


I have blogged about how I do the Special Person of the Week. You can read about it here

Wednesday, July 3, 2013

Clay Birds

I love this bulletin board, my friend, Laura makes with her first-grade class each year.   Each child makes a bird for this beautiful mural. You may not be able to tell from the picture, but this takes up a big white board in her class.


This mural is made out of clay.
I always ask her, "How did you get the birds to look so good?"
Here are the steps.

First, she has the kids make their bird on a piece of paper and outline with a Sharpie marker. 

Kids can outline with Sharpie if you teach them how. 

Next, she puts a piece of wax paper over the picture.

Finally, the kids then get their clay to fill in their bird. The results are beautiful!! 

Thanks for sharing Laura! 


Friday, June 29, 2012

Special Person of the Week!

This post is going to share with you how I do the Special Person of the Week in my class.


Word Work

I always spend a significant amount of time talking about the Special Person's name. We make a list of all the things we notice about that person's name. We also compare their name to another classmate's name.


Used To
When I used to make the Special Person book, I would have the students each draw a picture of the Special Person.  The Special Person's name is written at the top, and then students would write a compliment, on the bottom. 

I would have lots of conversations about that person but when the students went to write their compliment they were all the same... I like you. You're nice
They struggled with writing compliments.

Now  


At Back to School Night, I give everyone a date of when their child is the Special Person. 


(letter to parents)

Each week, a child will be our “Special Person of the Week”. On Friday, your child will be given a questionnaire to complete and return to school on Monday. Along with the completed form, they will bring five photos of special times in their lives to be hung on the “Special Person” bulletin board. Parents or other family members can be guest readers during the child’s week. Guest readers will read a favorite book to the class at the start of the day. If this time does not work with your schedule, we can always find another time during the week.


I put a limit to how many pictures to send in because one year I was getting over forty pictures from families. You can find the questions and book template at the bottom of this post.
There is a second page with a few more questions
Making the Class Book

I have the Special Person sit in a chair, and we share their pictures. We then read all the questions and answers together. The group sits and listens. 

After, I call out each page and pass them out. Each child makes a page for the book.


I am always surprised that the students remember the answers. If they forget they, find the Special Person and ask.


Reflection

 It can be tricky for kindergarteners to figure out where to put the words on their page, but with repeated practice, they get it!  

I think this book is something that if a child were to read it years from now, they would have a book full of childhood memories. 

Students are so proud and excited to take home their books and READ them.
I have the Special Person draw their face in the box. 
At the top of the page,  I put the first letter of the Special Person M...is for Mary.

Extension

 I recently took a course on Thinking Maps. If you ever have the opportunity to take a course/class, I strongly recommend it.  I am going to add a Bubble Thinking Map about the Special Person. I think this will be a great way to help kindergarteners learn about adjectives in an appropriate way.


 If you come up with a question that I don't have on my list, I would love to hear from you.

Saturday, June 2, 2012

Memory Book Example

Here is an example of one student memory book. 

The books are spiral-bound together. 

Each child picked one memory. The child's memory is typed on the left side. On the right side, we did an art project to go with that memory. 

Next year I plan to do a few pages each month and file them away. I did not have the kids do a lot of painting and art projects, but I would love to do more of that next year. 


So below is  Brooke's Memory Book 

I did have some pages with photos but could not share them because we do not post names and pictures together.


My boys came to visit


(Thank you, Laura, for sharing this idea)


Tuesday, May 29, 2012

Bio Poems

I do these Bio Poems at the end of kindergarten. I sometimes put the poems at the end of the year slideshow with the kids reading them.  I have seen lots of different variations of this template. You can get the Bio Template at the end of this post. I typed them up and put their kid pix photo on them.

Saturday, May 12, 2012

Memory Books in KC


I am going to share with you a memory book my colleague Laura shared with me years ago. I know it's probably too late to do this,  but it is something worth thinking about for another year.

 Step One
Each child picks a special memory from the school year. It's important that students know, once someone says a memory it is already taken. I write the memory on the easel. We pick memories over the course of a few days. We have a lot of discussion of memories from the school year. You could read the book Wilfrid Gordon McDonald Partridge by Mem Fox.

Write 21 different memories

Step Two
I let students make their faces on kids pix for the book. We did make faces in the fall, but I thought it would be nice to see how much they have changed! I was able to get the whole class done in one day. I used Kid Pix, you could use Kerpoof too.

Step Three
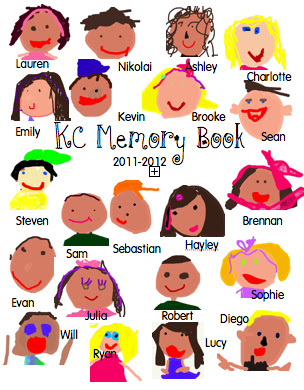
I saved face as JPEG and imported into iphoto to crop. Once faces were cropped, I made the cover on Pages. I just had to drop and drag. The cover of their books is above with all the faces and names.

Step Four
Now, I come up with different things to go with that memory. Each child will take home a memory book that has  21 different memories made by them!  Sometimes I have the students draw a picture. I may find a photo from the memory.

 Below you see a few examples
 for the Halloween memory I just put a haunted house project we did in October.
 For hat day we drew ourselves.
We made apple trees for apple picking.
In the end all the students have the memory page with their friends face and comment but the next page in the book is created by them!


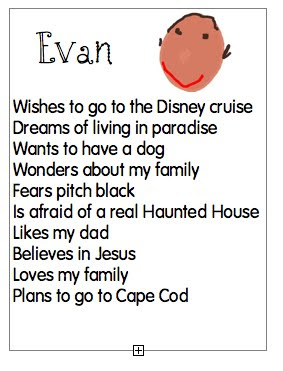
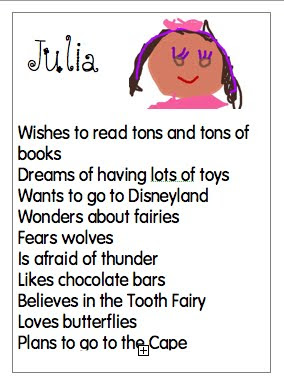
Here is an example of a few pages 
This is the memory page and the next page has the project.

Related Posts Plugin for WordPress, Blogger...